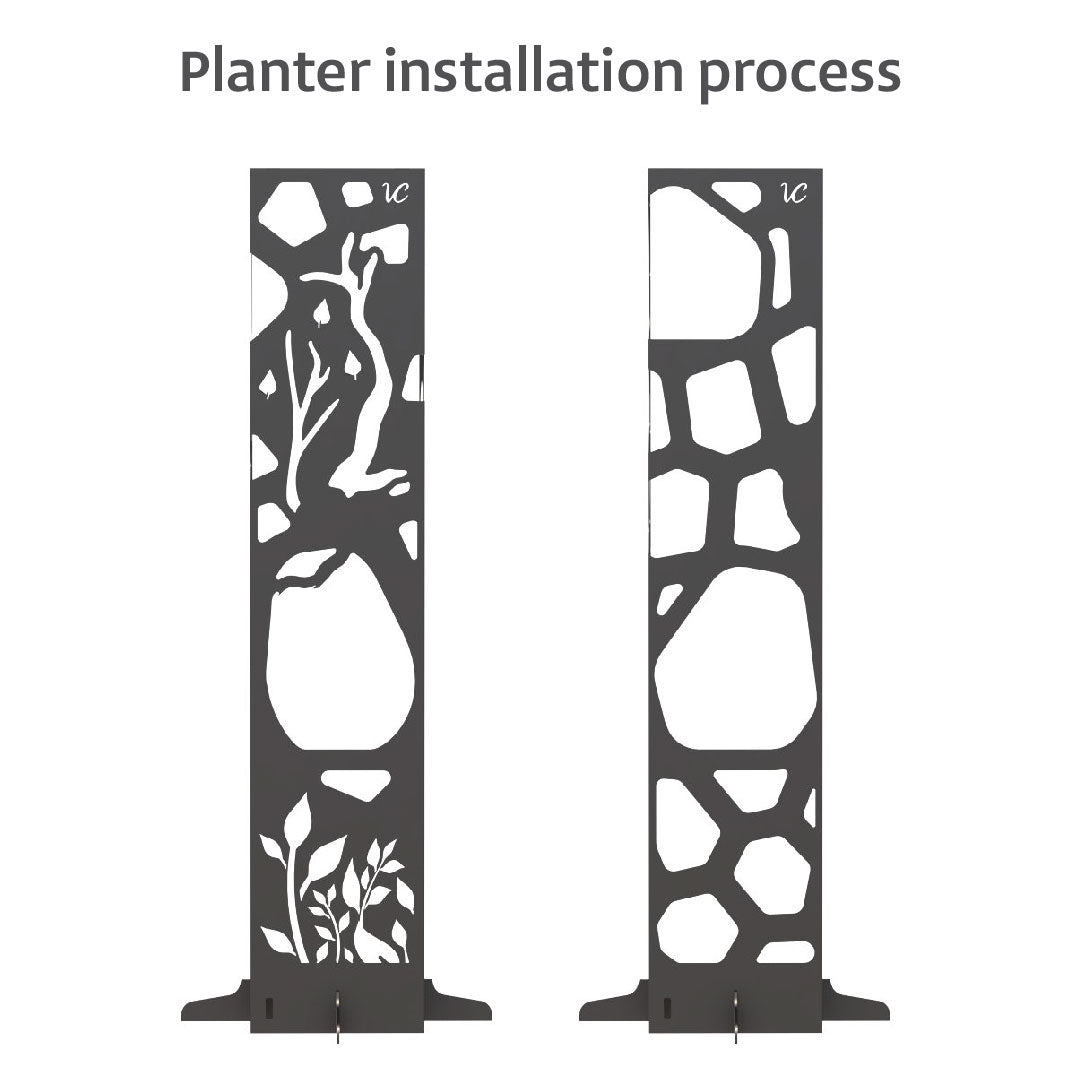
Planter Installation Process
Below, you'll find the step-by-step instructions to guide you through the installation of your planter.

Planter Installation Process
-

1ST STEP: Assemble the bases aligning the center slots
Ensure that you correctly place the two pieces depicted in the image into the central slot to assemble the base of your planter.
-

2ND STEP: Place the planter aligned with the base slots
Position the planter on the pre-assembled base and align it to fit snugly into the four surrounding slots.
-

3RT STEP: Place the pots (3) inside the structure
Position each of the three planters into their respective holes and place them securely inside the support.
-

4TH STEP: Pots Dimensions

Planter installation on the ground process

Secure the planter to the ground with pegs.
The structure has 4 holes around it.
4 pegs required (no included)
Press the pegs into the ground to enhance the stability of the planter.
Do you have any questions about the installation process?
Don't worry! Our technical support is here to help! We have a team ready to assist you with anything you need. Get in touch with us and we'd be happy to answer your questions or comments.


